ADK Python 快速入门
- Python 3.10 或更高版本
pip用于安装包依赖
安装
通过运行以下命令安装 ADK:
建议:创建并激活 Python 虚拟环境
创建一个 Python 虚拟环境:
激活 Python 虚拟环境:
创建智能体项目
运行 adk create 命令来开始一个新智能体项目。
探索智能体项目
创建的智能体项目具有以下结构,其中 agent.py
文件包含智能体的主要控制代码。
更新你的智能体项目
agent.py 文件包含一个 root_agent 定义,这是
ADK 智能体所需的唯一元素。你也可以定义工具供智能体使用。更新生成的 agent.py 代码以包含 get_current_time 工具供智能体使用,如下列代码所示:
from google.adk.agents.llm_agent import Agent

# Mock 工具实现
def get_current_time(city: str) -> dict:
    """返回指定城市中的当前时间。"""
    return {"status": "success", "city": city, "time": "10:30 AM"}

root_agent = Agent(
    model='gemini-3-flash-preview',
    name='root_agent',
    description="报告指定城市的当前时间。",
    instruction="你是一个有用的助手,可以报告城市的当前时间。为此使用 'get_current_time' 工具。",
    tools=[get_current_time],
)
设置你的 API 密钥
此项目使用需要 API 密钥的 Gemini API。如果你还没有 Gemini API 密钥,请在 Google AI Studio 上的API 密钥 页面创建一个。
在终端窗口中,将你的 API 密钥写入 .env 文件作为环境变量:
使用 ADK 的其他 AI 模型
ADK 支持使用许多生成式 AI 模型。有关在 ADK 智能体中配置其他模型的更多信息,请参阅 模型与身份验证。
运行你的智能体
你可以使用交互式命令行界面和 adk run 命令运行你的 ADK 智能体,或使用 ADK 提供的 adk web 命令的 ADK Web 用户界面。这两个选项都允许你测试并与你的智能体交互。
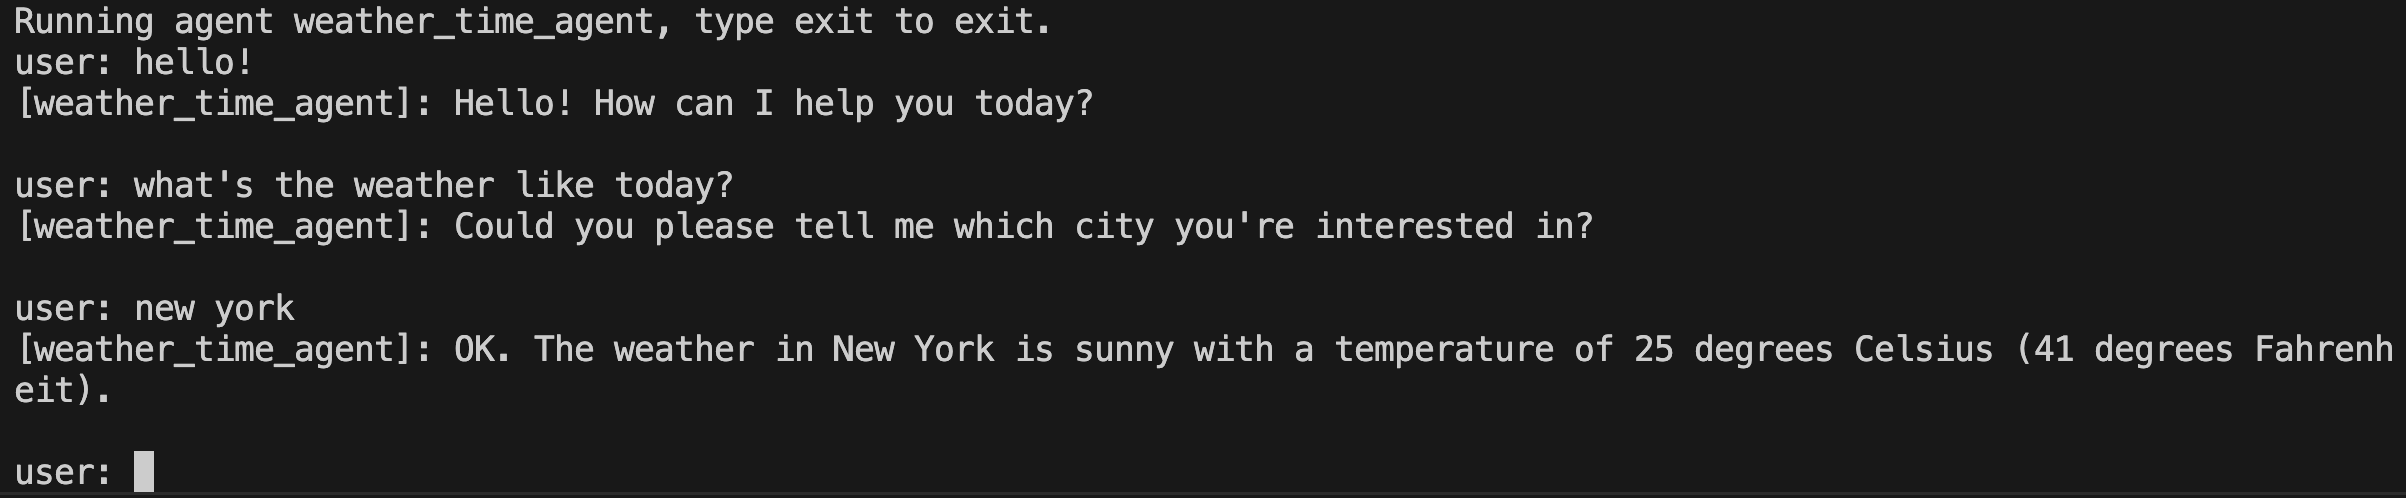
通过命令行界面运行
使用 adk run 命令行工具运行你的智能体。
通过网页界面运行
ADK 框架提供网页界面,你可用来测试并与智能体交互。你可以使用以下命令启动网页界面:
此命令启动一个带有你的智能体聊天界面的网页服务器。你可以在 (http://localhost:8000) 访问网页界面。在右上角选择智能体并键入请求。
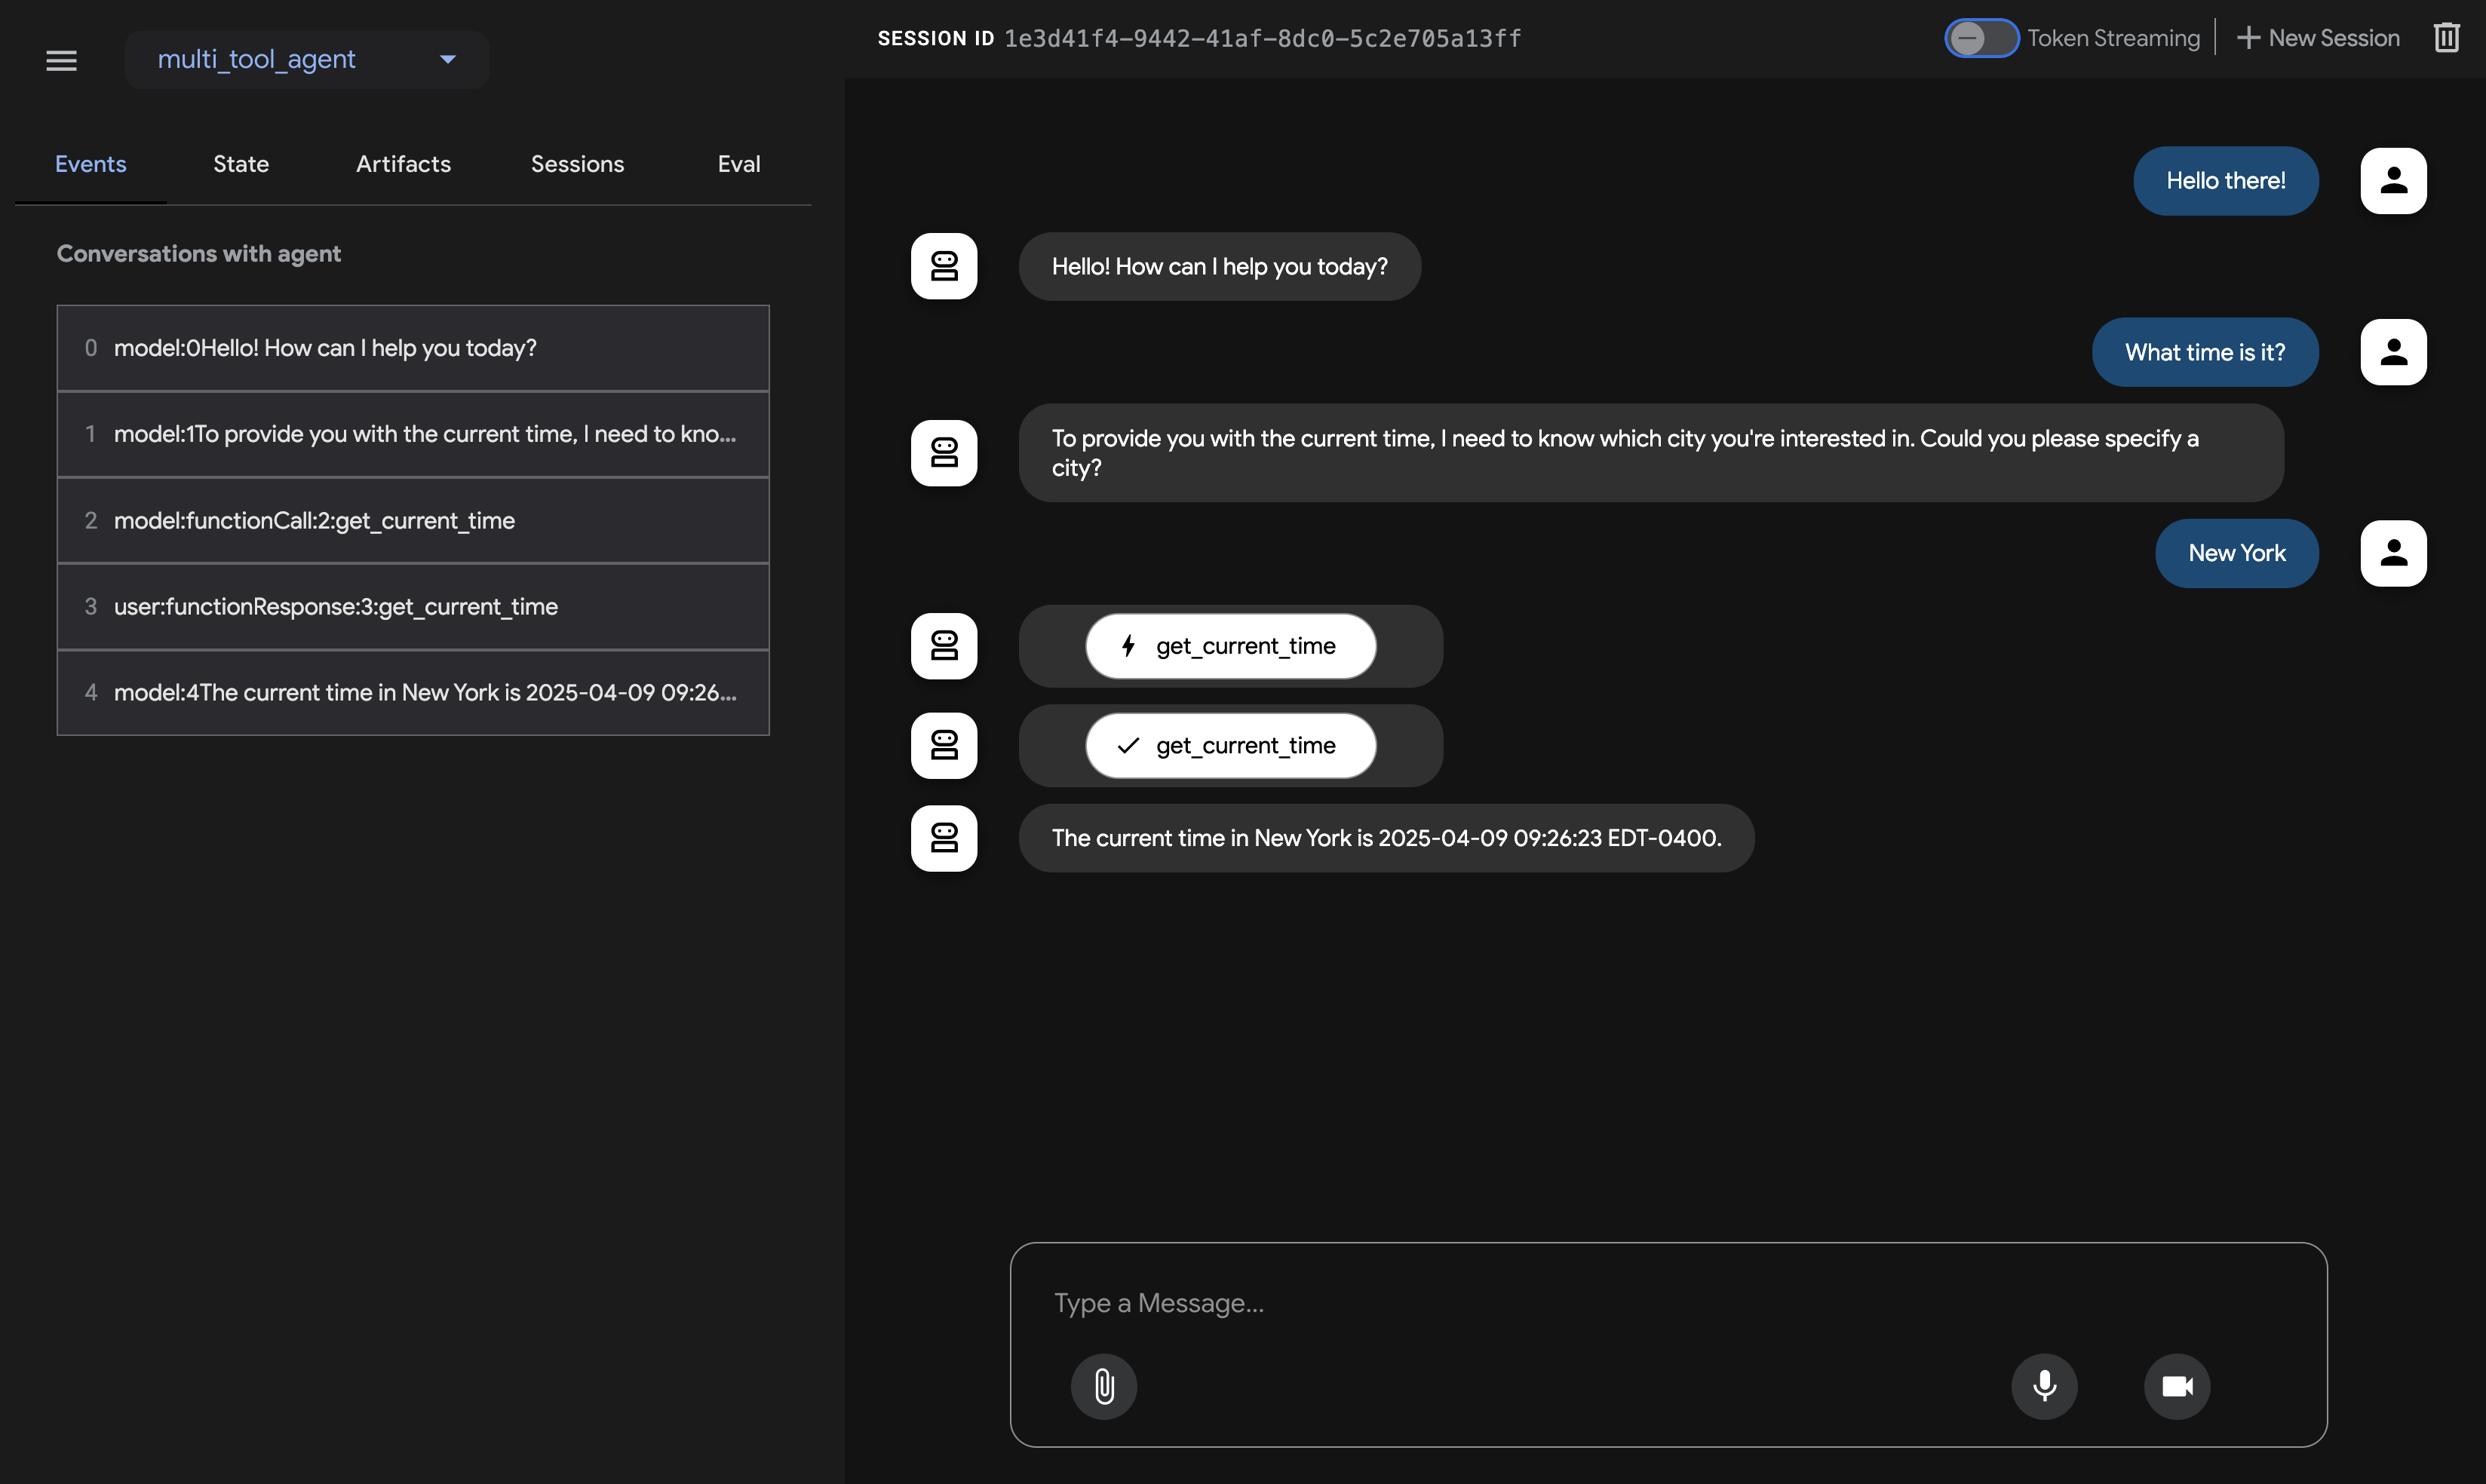
此命令启动一个带有你的智能体聊天界面的网页服务器。你可以在 (http://localhost:8000) 访问网页界面。在左上角选择智能体并键入请求。
现在你已经安装了 ADK 并运行了你的第一个智能体,尝试使用我们的构建指南构建你自己的智能体:
注意:ADK Web 仅限开发使用
ADK Web 不适用于生产部署。你应该仅将 ADK Web 用于开发和调试目的。
下一步:构建你的智能体
现在你已经安装了 ADK 并运行了你的第一个智能体,尝试使用我们的构建指南构建你自己的智能体: