ADK 的 Langfuse 可观测性
Langfuse 是一个开源的 LLM 工程平台,用于可观测性、评估和提示词管理。它使用 OpenTelemetry (OTel) 协议捕获来自 ADK 智能体的详细追踪,因此你可以在开发和生产环境中调试、评估和迭代智能体应用。
概述
Langfuse 使用 OpenTelemetry 捕获 ADK 的追踪,并支持 AI 工程循环:
- 追踪:捕获请求的完整路径,包括提示词、检索的上下文、工具调用、输出、延迟和成本
- 监控:跟踪系统随时间的行为表现,并通过评估方法、用户反馈和成本或延迟异常来筛选值得关注的追踪
- 构建数据集:将监控中的真实场景和开发中的预期场景转化为可重复的测试用例
- 实验:系统地更改变量(提示词、模型、检索策略)并将每次更改与稳定基线进行比较
- 评估:通过人工审查、代码评估器检查或 LLM 作为评判者来判断结果是否足够好以发布
安装
安装所需的包:
google-adk 2.x 需要 Python 3.10 或更高版本。固定 "google-adk>=2" 确保 pip 安装当前的 ADK 2.x 版本。
设置
在 cloud.langfuse.com 注册或自行托管平台,然后设置你的 API 密钥。从项目设置页面获取密钥。同时设置一个 Gemini API 密钥:
export LANGFUSE_PUBLIC_KEY="pk-lf-..."
export LANGFUSE_SECRET_KEY="sk-lf-..."
export LANGFUSE_BASE_URL="https://cloud.langfuse.com"  # 欧洲区域
# 其他区域:https://us.cloud.langfuse.com(美国)、
# https://jp.cloud.langfuse.com(日本)、https://hipaa.cloud.langfuse.com(HIPAA)
export GOOGLE_API_KEY="your-gemini-api-key"
初始化 Langfuse 客户端并为 ADK 添加检测:
from langfuse import get_client
from openinference.instrumentation.google_adk import GoogleADKInstrumentor

langfuse = get_client()

# 验证连接
if langfuse.auth_check():
    print("Langfuse client is authenticated and ready!")
else:
    print("Authentication failed. Please check your credentials and host.")

GoogleADKInstrumentor().instrument()
就这样,所有 ADK 智能体活动现在都会被自动追踪并发送到你的 Langfuse 项目。
观测
初始化追踪后,照常运行你的 ADK 智能体,所有交互都会出现在 Langfuse 中:
from google.adk.agents import Agent
from google.adk.runners import Runner
from google.adk.sessions import InMemorySessionService
from google.genai import types

def say_hello():
    return {"greeting": "Hello Langfuse 👋"}

agent = Agent(
    name="hello_agent",
    model="gemini-3.5-flash",
    instruction="Always greet using the say_hello tool.",
    tools=[say_hello],
)

APP_NAME = "hello_app"
USER_ID = "demo-user"
SESSION_ID = "demo-session"

session_service = InMemorySessionService()
# create_session 是异步的 → 在 notebook 中使用 await
await session_service.create_session(app_name=APP_NAME, user_id=USER_ID, session_id=SESSION_ID)

runner = Runner(agent=agent, app_name=APP_NAME, session_service=session_service)

user_msg = types.Content(role="user", parts=[types.Part(text="hi")])
for event in runner.run(user_id=USER_ID, session_id=SESSION_ID, new_message=user_msg):
    if event.is_final_response():
        if event.content and event.content.parts:
            print(event.content.parts[0].text)
        elif event.error_message:
            print(f"Agent error: {event.error_message}")
Langfuse 会自动将你传递给 runner.run() 的 user_id 和 session_id 映射到追踪的用户和会话——你无需编写任何额外代码即可获得用户和会话跟踪。
命名和可筛选的追踪
默认情况下,追踪以 ADK 应用名称命名。使用 propagate_attributes 设置描述性的追踪名称、标签和元数据,以便在 Langfuse 中筛选追踪。
使用此方式设置属性时,请使用异步的 runner.run_async() API。同步的 runner.run() 在后台工作线程上执行智能体,因此 OpenTelemetry 上下文(以及来自 propagate_attributes 的属性)无法到达 ADK 跨度:
from langfuse import propagate_attributes

SESSION_ID_2 = "demo-session-2"
await session_service.create_session(app_name=APP_NAME, user_id=USER_ID, session_id=SESSION_ID_2)

with propagate_attributes(
    trace_name="hello-agent-request",
    tags=["google-adk", "cookbook"],
    metadata={"example": "named-trace"},
):
    async for event in runner.run_async(user_id=USER_ID, session_id=SESSION_ID_2, new_message=user_msg):
        if event.is_final_response():
            if event.content and event.content.parts:
                print(event.content.parts[0].text)
            elif event.error_message:
                print(f"Agent error: {event.error_message}")
在 Langfuse 中查看追踪
打开你的 Langfuse 仪表板 → Traces 来检查智能体循环、工具调用和模型生成。追踪可按上面设置的用户、会话和标签进行筛选。
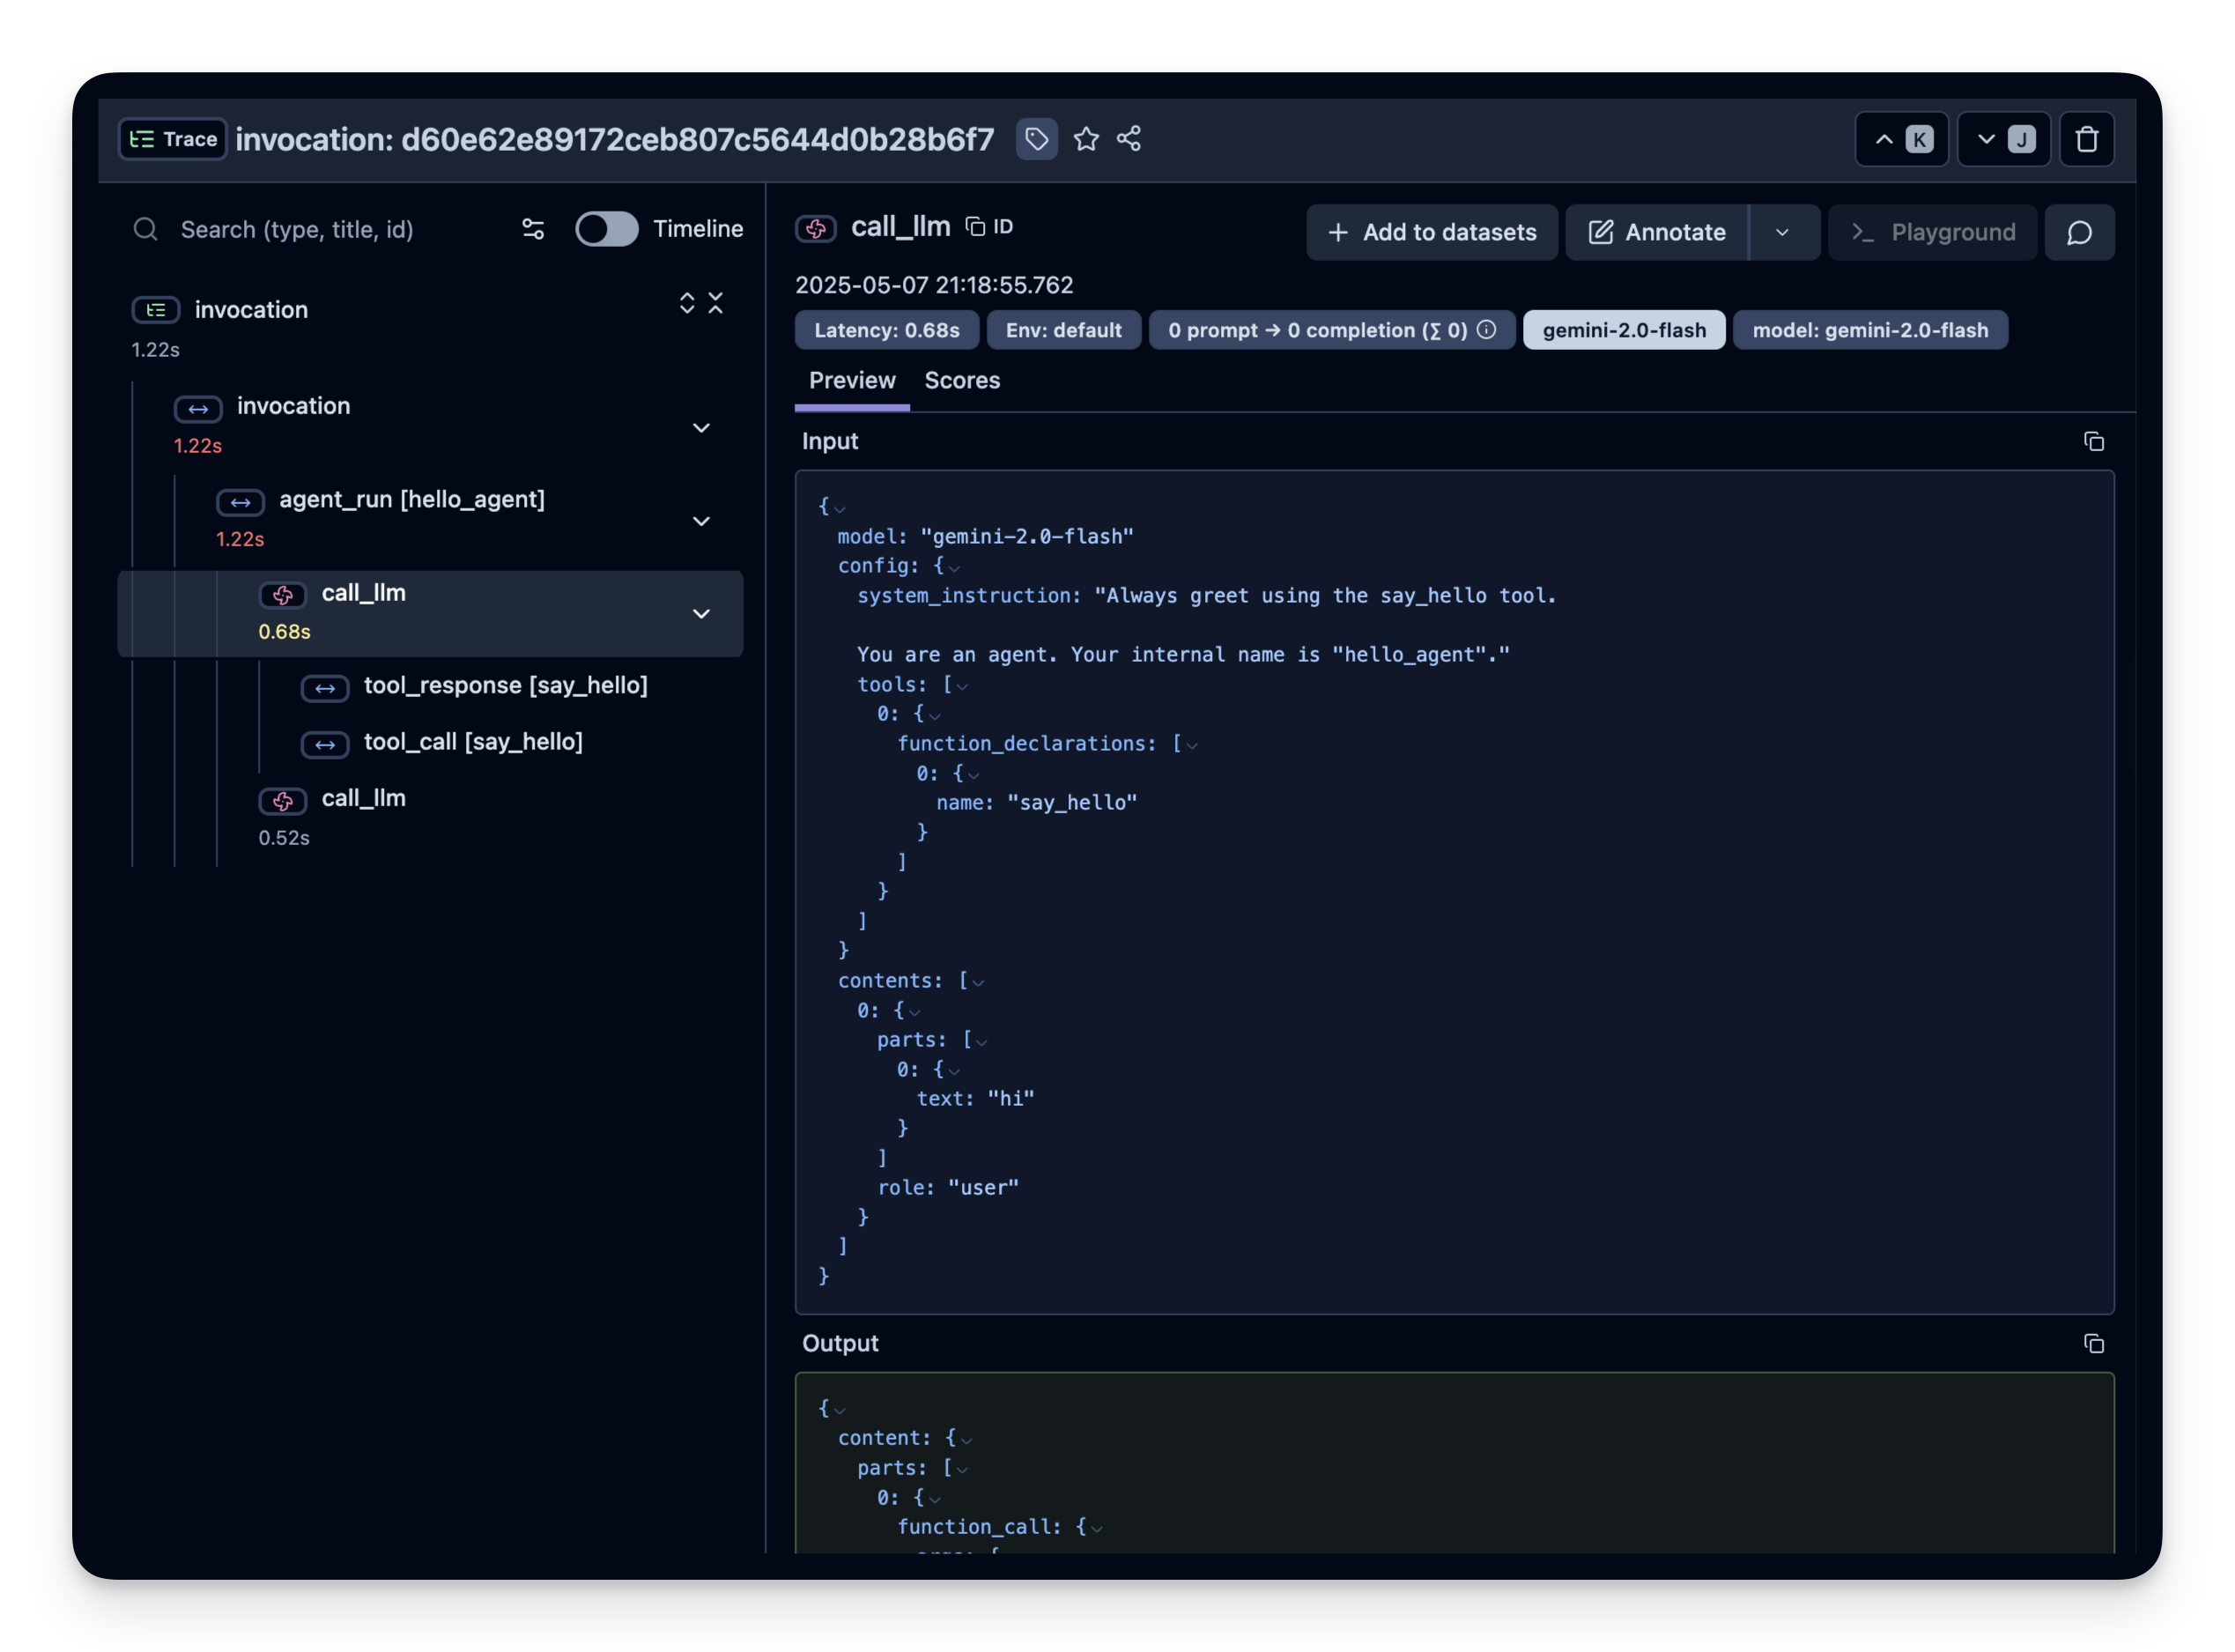
有关多智能体管道、用用户反馈对追踪评分等更多示例,请参阅 Langfuse ADK 集成指南。